Fly Gemini V2 CAN hat
Edit me
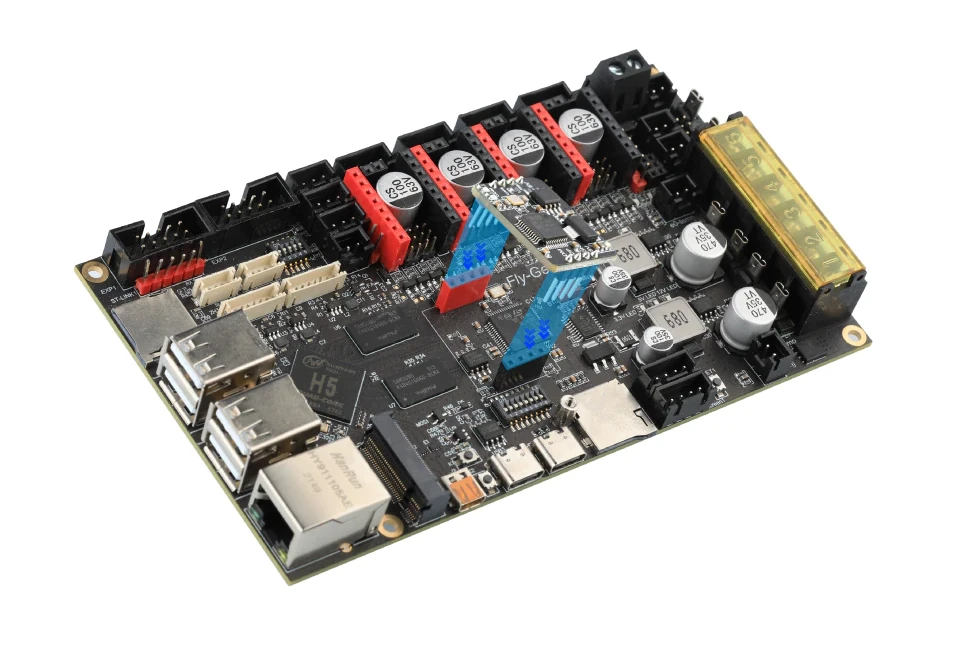
Fly Gemini V2 CAN hat
Overview
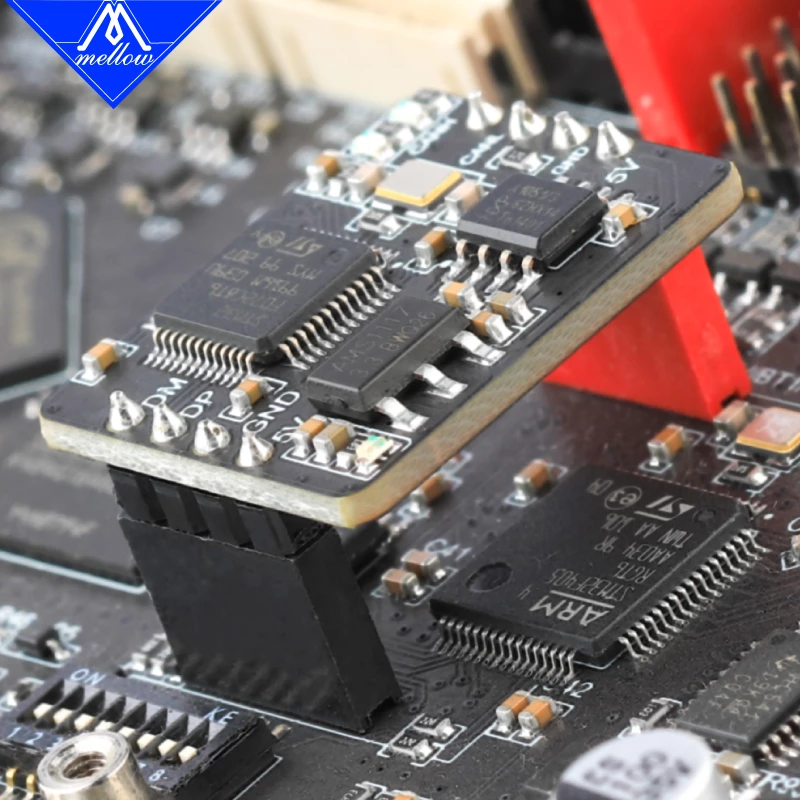
The Fly Can Hat board was made to perform the same functions as the UTOC board, allowing the Fly-Pi/Fly-Gemini V1.1/V2.0 to directly connect to CAN bus boards for Can communication.
- Compatilbe Boards
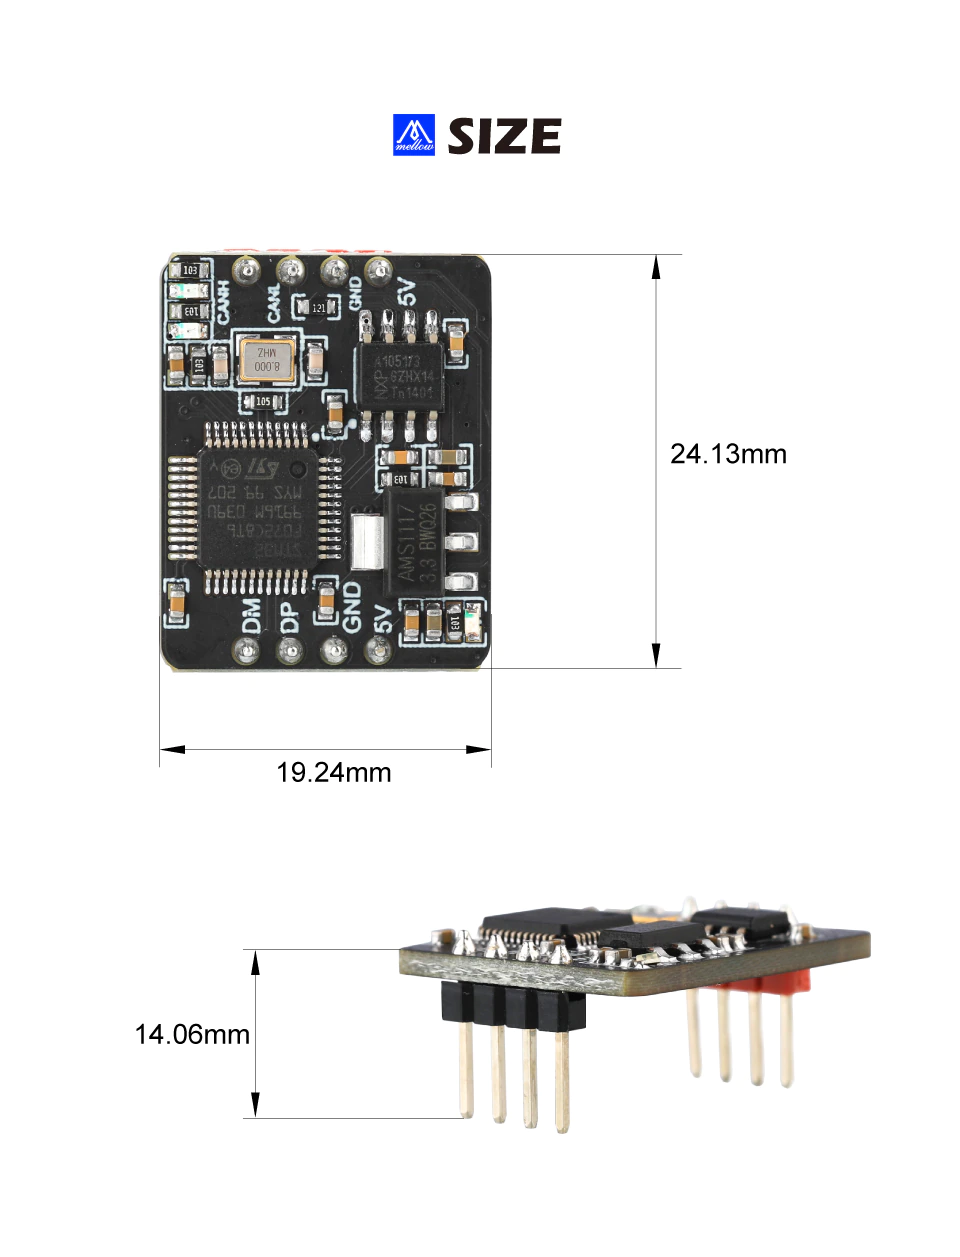
Dimensions
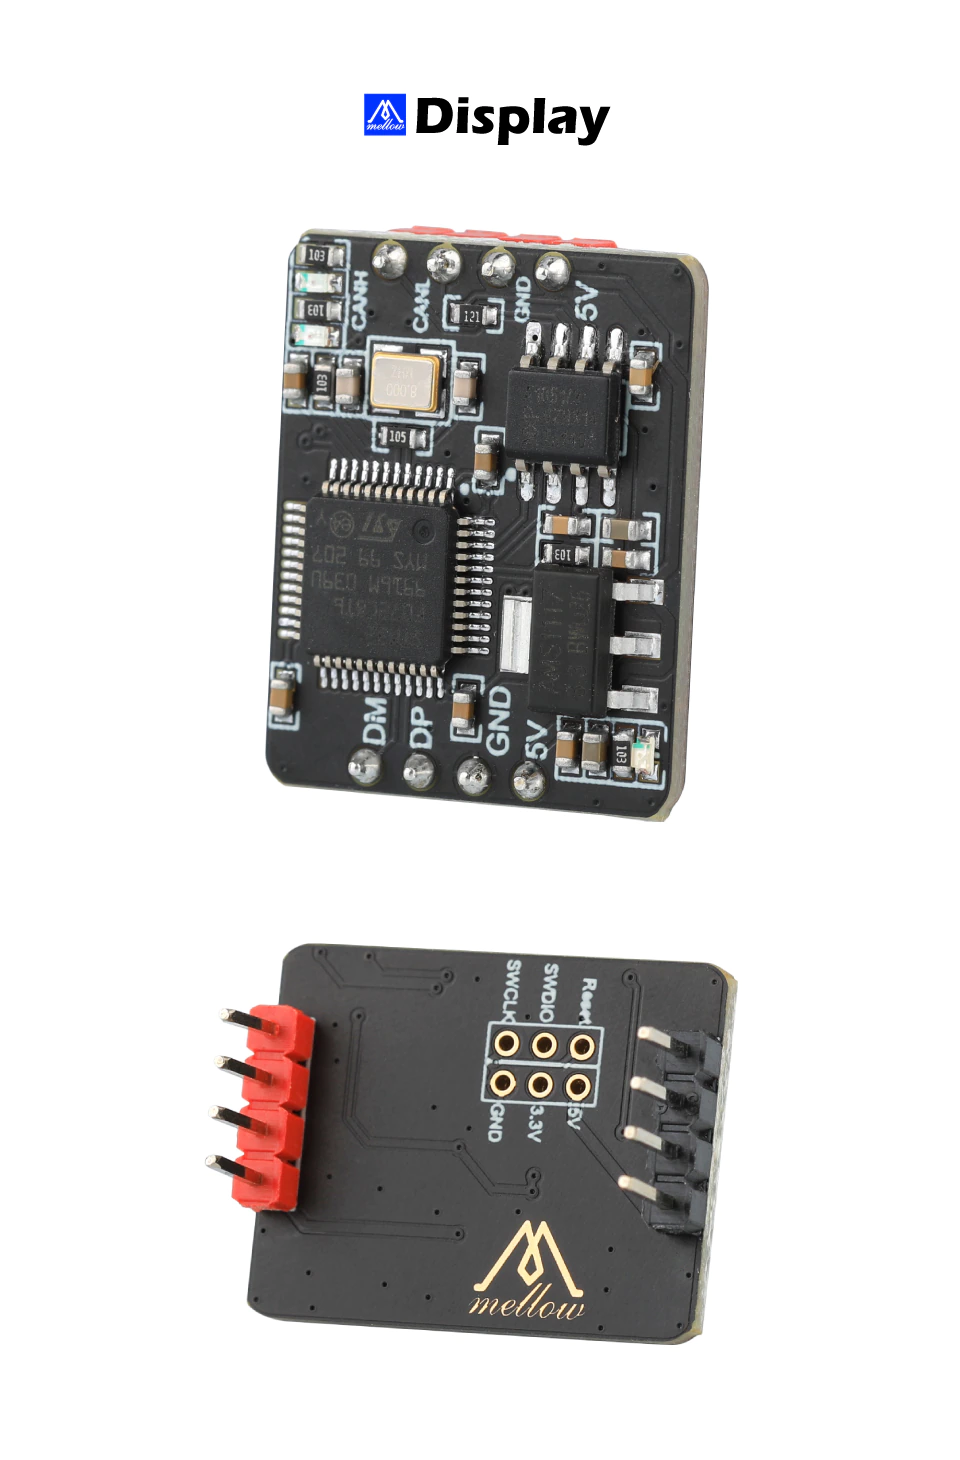
Top and Bottom View
Installation
- Just below the CAN hat header is a set of 8 DIP switches.
- Set switches 1,2,5 and 6 to the ON position when using the CAN Hat to connect the SBC to the STM32F405 over the internal CAN connection.
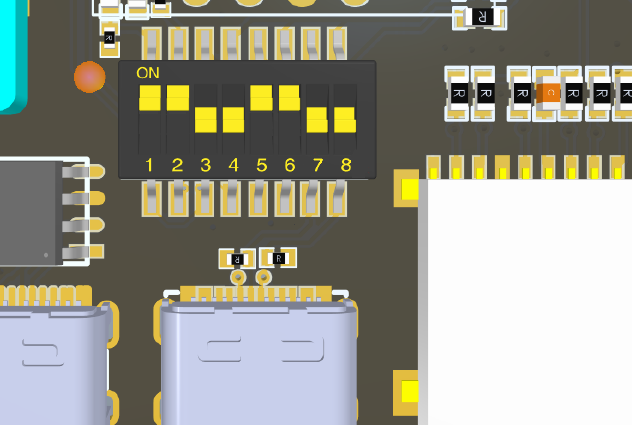
Fly-Gemini V2 DIP Switches set for internal CAN bus link to the STM32F405 MCU - On Gemini align the Red pin header on the Can Hat with the red socket on the main board. The black pin header should align to the black socket.
Warning: Inserting the CAN Hat backwards can short board components causing damage.
Klipper Host CAN0 file configuration
The Fly OS operating system ships with a CAN0 file pre configured. You only need to edit the file if you want to use a bus speed other than 5000000.
Important: This guide assumes you have a working Klipper host installation on a Fly Gemini, Fly Pi, Raspberry Pi or compatible device
- SSH to your Klipper host and create a new can0 file in the /ect/network/interfaces.d folder
sudo nano /etc/network/interfaces.d/can0
- Enter the following information.
allow-hotplug can0
iface can0 can static
 bitrate 500000
 up ifconfig $IFACE txqueuelen 1024
 pre-up ip link set can0 type can bitrate 500000
 pre-up ip link set can0 txqueuelen 1024
Note: Use the same bitrate you use on your can tool boards. This can be 250000, 500000 or 1000000. Bitrates of 500000 and 1000000 are prefered.
-
enter Ctrl+X to save the can0 file
-
Reboot your klipper host.
-
This should be all you need to do if you are using a Fly UTOC-1, UTOC-3 or Mellow CANhat for the Gemini and Fly Pi. Other CAN bus adapters may need aditional configuration steps.