How to compile and update the klipper firmware running on a Fly-RPFMex in USB mode
Edit me
Important: This guide assumes you have a working Klipper host installation on a Raspberry Pi or compatible device
Compile Klipper firmware for Fly-RPFMex
Tip: To read more about the KCONFIG_CONFIG option, see here
- ssh to your klipper host console
-
cd to the klipper directory
cd ~/klipper -
Run make clean
make clean KCONFIG_CONFIG=config.rpfmex
Important: If when running the above command you get this output
Then you need to set all the correct settings when running make menuconfig below.
Otherwise, skip to compiling klipper.
Using default symbol values (no 'config.rpfmex'). Configuration saved to 'config.rpfmex' Then you need to set all the correct settings when running make menuconfig below.
Otherwise, skip to compiling klipper.
-
Open menuconfig
make menuconfig KCONFIG_CONFIG=config.rpfmex - Set the following settings
- Quit and save the configuration
-
Run Make to compile the firmware
make KCONFIG_CONFIG=config.rpfmex -j4
Flash Klipper USB firmware with Katapult over USB
-
Look in your printer.cfg file and make note of the serial ID for your board.
-
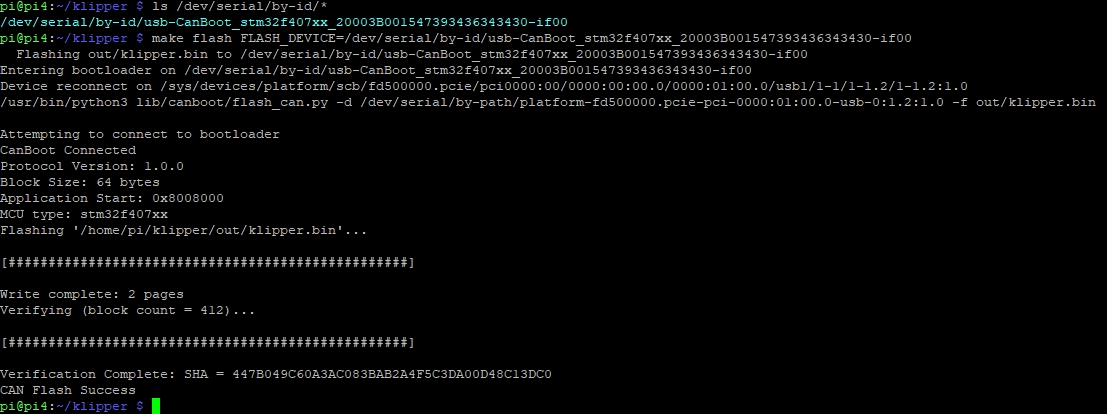
Run the make flash command to flash the firmware
make KCONFIG_CONFIG=config.rpfmex flash FLASH_DEVICE= {Your serial ID here } -
Example
make KCONFIG_CONFIG=config.rpfmex flash FLASH_DEVICE=/dev/serial/by-id/usb-katapult_stm32f407xb_170038000650314D35323820-if00
Burn Klipper firmware over USB -
Your Fly-RPFMex should now have klipper firmware updated and be ready to use again.
