Fly Pi OS setup
Edit me
Fly Pi initial setup
Connect to the Fly Pi by serial over USB
Install CH340 driver
- Download and install the CH340 driver.
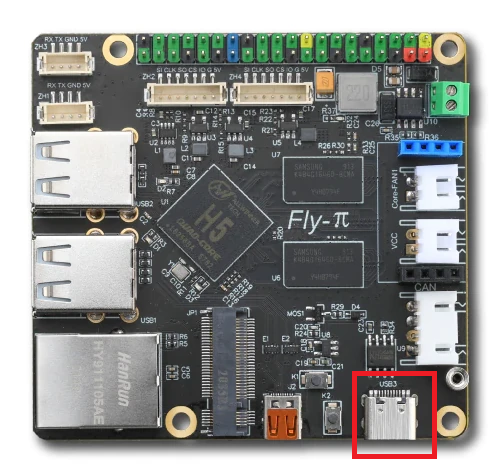
- Connect the Fly Pi by USB to your PC using the USB C port marked in red.
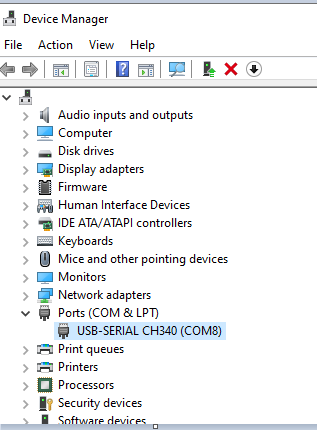
- Open device manager, expand ports, and note the com port number of the device labeld CH340
Connect to the Fly Pi over serial.
- Open putty and configure a session as follows
- Serial line: Use COM port from the CH340 device listed in device manager.
- Speed: 115200
- Connection type: serial
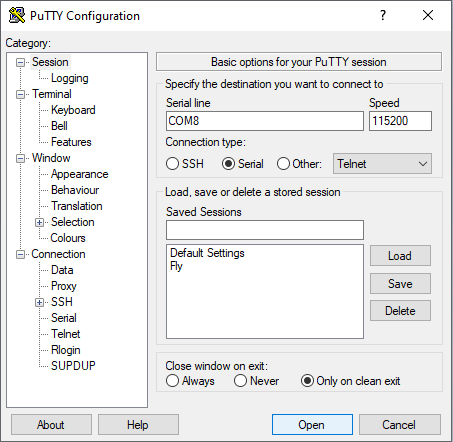
- Click ‘Open’ to start the session.
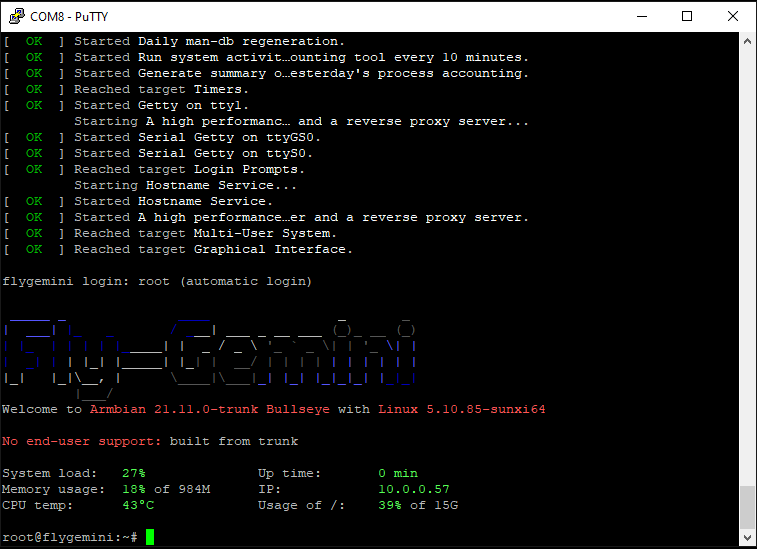
Configure Wifi using nmtui
- Run the following command to start the Network Manager TUI
nmtui - Select ‘Activate a connection’
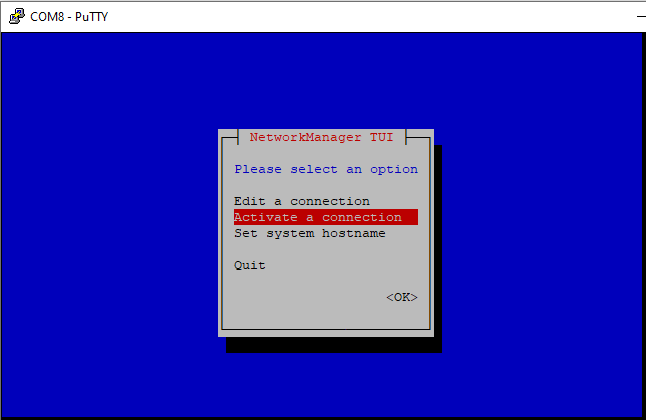
- Select your WiFi network from the list of discovered networks.
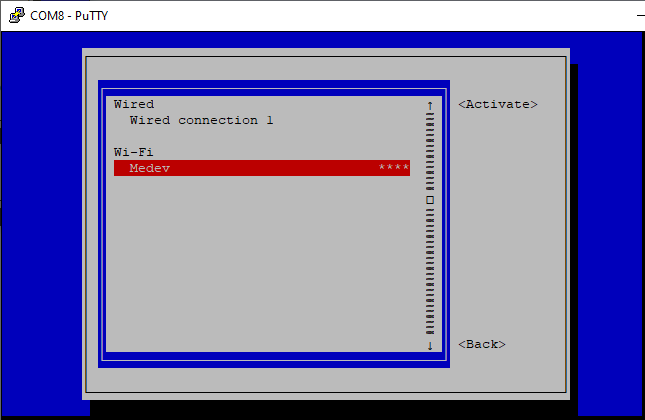
- Enter your WiFi password
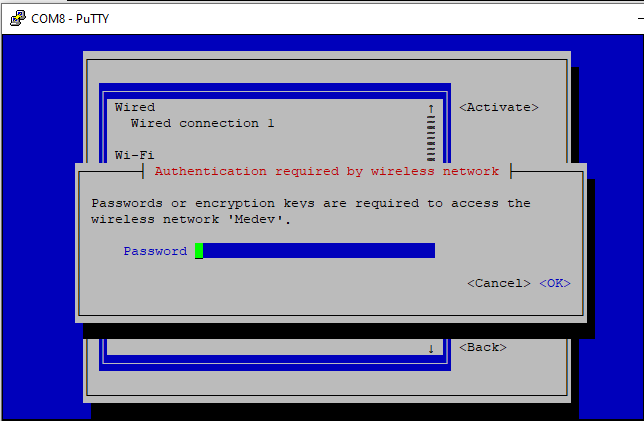
- Exit nmtui
Find the IP address
- Run IP to get the Fly Pi IP address.
ip address show wlan0

- Note the IP for the next step.
Connect to the Fly Pi over SSH.
- Open Putty and configure a new session
- Host name: Use the IP listed in the last step.
- Port: 22
- Connection type: ssh
- Click ‘open’ to start the session.
- Log on with the username ‘fly’ and the password ‘mellow’
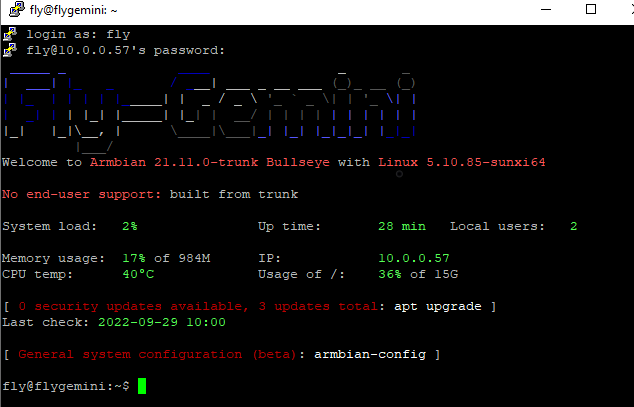
Set the password
- Run the following command to reset the default password
passwd
- Enter the current password you used to log on.
- Enter your new password.
- Confirm your new password
Install Bonjour support
Bonjour will allow the Fly Pi to respond to it’s hostname. The defaut hostname is ‘flygemini.local’
- Run the following commands to update and install Bonjour support.
sudo apt update && sudo apt upgrade -y
sudo apt install avahi-daemon
- When complete your Fly Pi will respond to local dns queries for it’s hostname.
Install PySerial
If you plan to use CanBoot you may want to istall pyserial.
pip3 install pyserial
Setup is now complete
Continue on to the next section Configuring Klipper