How to compile and install the klipper firmware running on a Fly-Super5Pro in USB to CAN Bridge Mode
Edit me
Configuring and installing Klipper for USB to CAN Bridge Mode
Compile Klipper firmware for Fly-Super5Pro
Tip: To read more about the KCONFIG_CONFIG option, see here
- ssh to your klipper host console
-
cd to the klipper directory
cd ~/klipper -
Run make clean
make clean KCONFIG_CONFIG=config.super5pro -
Open menuconfig
make menuconfig KCONFIG_CONFIG=config.super5pro - Set the following settings
- [*] Enable extra low-level configuration options
- Micro-controller Architecture (STMicroelectronics STM32)
- Processor model (STM32H723)
- Bootloader offset (128KiB bootloader (SKR SE BX v2.0))
- Clock Reference (25 MHz crystal)
- Communication interface (USB to CAN bus bridge (USB on PA11/PA12))
- CAN bus interface (CAN bus (on PB8/PB9))
- USB ids
- (1000000) CAN bus speed
-
() GPIO pins to set at micro-controller startup

Klipper Menu Config USB to CAN Bridge Mode
- Quit and save the configuration
-
Run Make to compile the firmware
make KCONFIG_CONFIG=config.super5pro -j4

Flash Klipper USB firmware with Katapult over USB
-
Find the Serial ID
ls /dev/serial/by-id/ -
Copy the ID containing ‘STM32’ and make a note of it for use in your printer.cfg.
-
Run the make flash command to flash the firmware
make KCONFIG_CONFIG=config.super5pro flash FLASH_DEVICE= {Your serial ID here } -
Example
make KCONFIG_CONFIG=config.super5pro flash FLASH_DEVICE=/dev/serial/by-id/usb-katapult_stm32f407xb_170038000650314D35323820-if00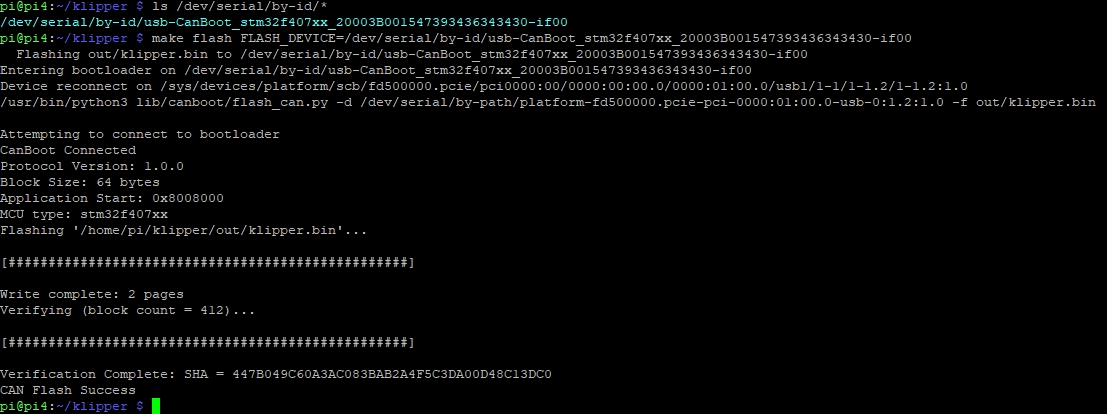
Burn Klipper firmware over USB -
Your Fly-Super5Pro should now have klipper firmware installed and be ready to use.
